
Making the air come alive
your aerodynamic analysis
Making the air come alive
your aerodynamic
analysis
Goal of the project
Goal of the project
The goal of my project is to design and build an efficient wind tunnel specifically tailored for aerodynamic testing in the F1 in Schools competition, as well as other educational purposes. The inspiration came from the need to support teams like mine in optimizing car designs using both CFD (Computational Fluid Dynamics) and real-world wind tunnel data. Beyond just benefiting my own team, I want this project to be an open-source resource for students everywhere, including those from less privileged backgrounds who may not have access to such tools. By making it affordable and replicable, I hope to empower more students to explore the science of aerodynamics hands-on. My ultimate goal is to bridge the gap between theoretical learning and practical experimentation, and to do so in a way that makes this technology accessible to as many students as possible.
The goal of my project is to design and build an efficient wind tunnel specifically tailored for aerodynamic testing in the F1 in Schools competition, as well as other educational purposes. The inspiration came from the need to support teams like mine in optimizing car designs using both CFD (Computational Fluid Dynamics) and real-world wind tunnel data. Beyond just benefiting my own team, I want this project to be an open-source resource for students everywhere, including those from less privileged backgrounds who may not have access to such tools. By making it affordable and replicable, I hope to empower more students to explore the science of aerodynamics hands-on. My ultimate goal is to bridge the gap between theoretical learning and practical experimentation, and to do so in a way that makes this technology accessible to as many students as possible.
The goal of my project is to design and build an efficient wind tunnel specifically tailored for aerodynamic testing in the F1 in Schools competition, as well as other educational purposes. The inspiration came from the need to support teams like mine in optimizing car designs using both CFD (Computational Fluid Dynamics) and real-world wind tunnel data. Beyond just benefiting my own team, I want this project to be an open-source resource for students everywhere, including those from less privileged backgrounds who may not have access to such tools. By making it affordable and replicable, I hope to empower more students to explore the science of aerodynamics hands-on. My ultimate goal is to bridge the gap between theoretical learning and practical experimentation, and to do so in a way that makes this technology accessible to as many students as possible.
Download an open source guide
Download an open source guide
Jan Gierszewski
Jan Gierszewski
For as long as I remember, racing has been my passion. Watching Formula 1 for years, its been a dream to find myself working in the sport. My other interest was always in stem – I always focused my academic pathways around mathematics and physics. The way to connect both passions for me was through engineering. Building a wind tunnel with little to no experience was an amazing story which I am eager to share with hundreds of other aerodynamicists around the world.
For as long as I remember, racing has been my passion. Watching Formula 1 for years, its been a dream to find myself working in the sport. My other interest was always in stem – I always focused my academic pathways around mathematics and physics. The way to connect both passions for me was through engineering. Building a wind tunnel with little to no experience was an amazing story which I am eager to share with hundreds of other aerodynamicists around the world.
How the project works
How the project works
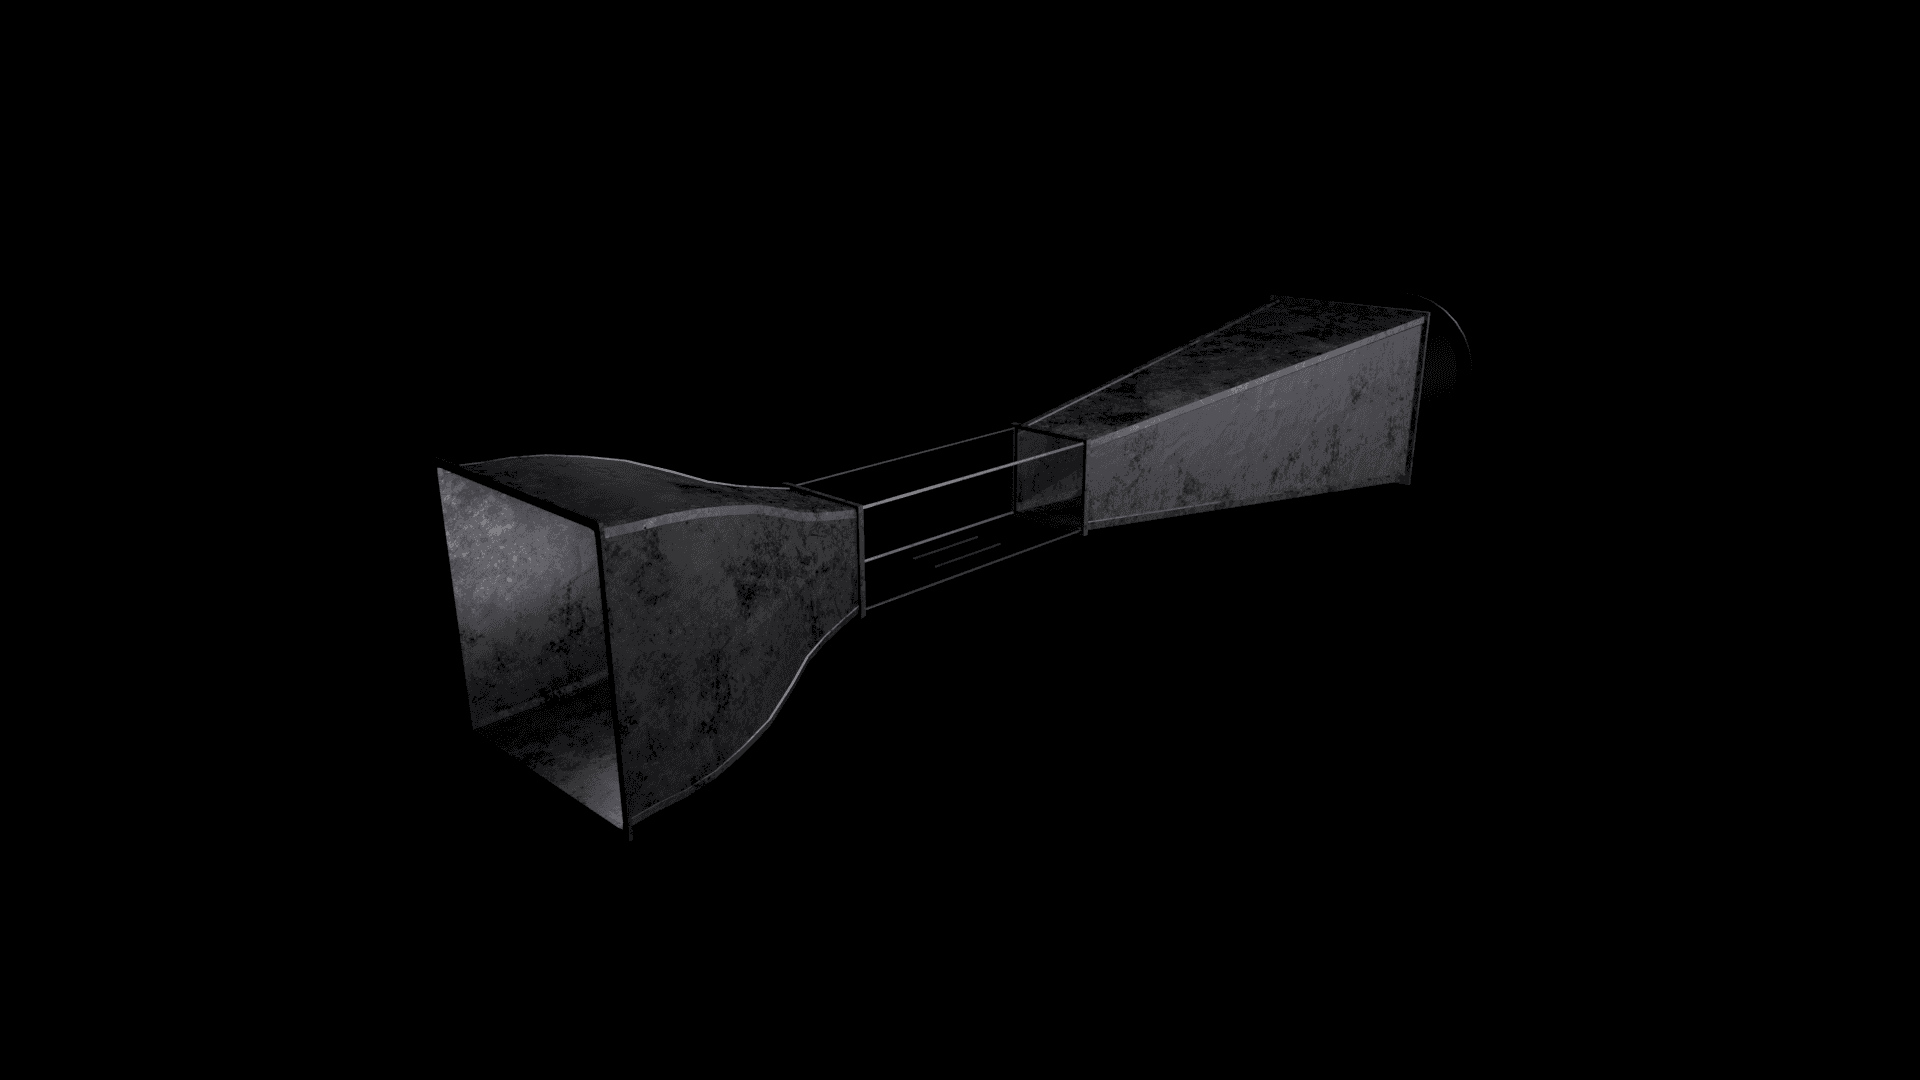
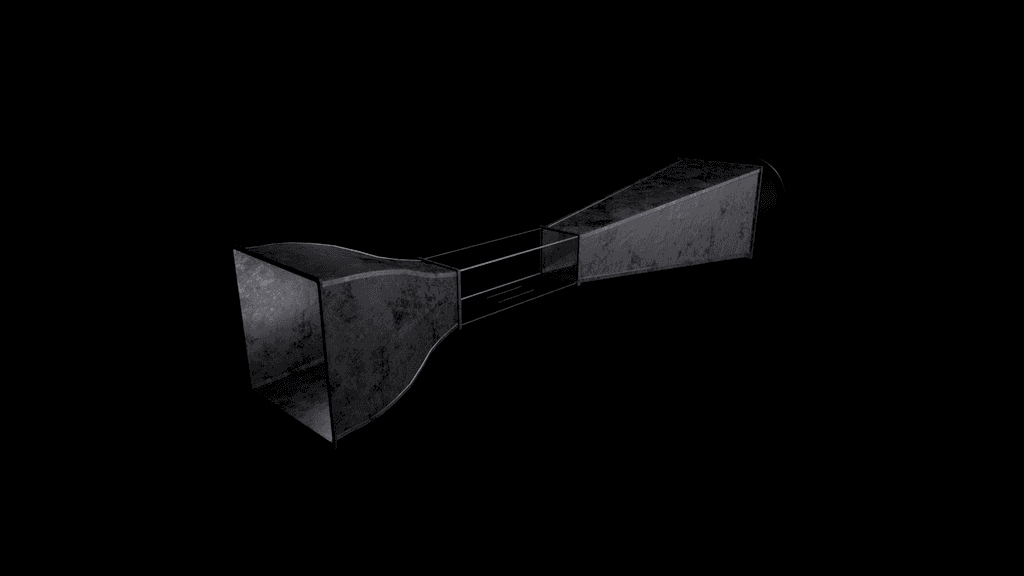
The wind tunnel is designed to create a controlled environment that simulates airflow, allowing for precise aerodynamic testing of models, such as those used in the F1 in Schools competition. At its core, the tunnel consists of several key components: a fan, a contraction section, a test section, and diffuser.
When the tunnel is operational, the fan generates a powerful stream that pulls air into the system. This airflow enters through the contraction, a narrowing pathway that accelerates the air as it moves toward the test section. The design of the contraction is crucial, as it helps to minimize turbulence and ensure a smooth, steady flow of air over the model.
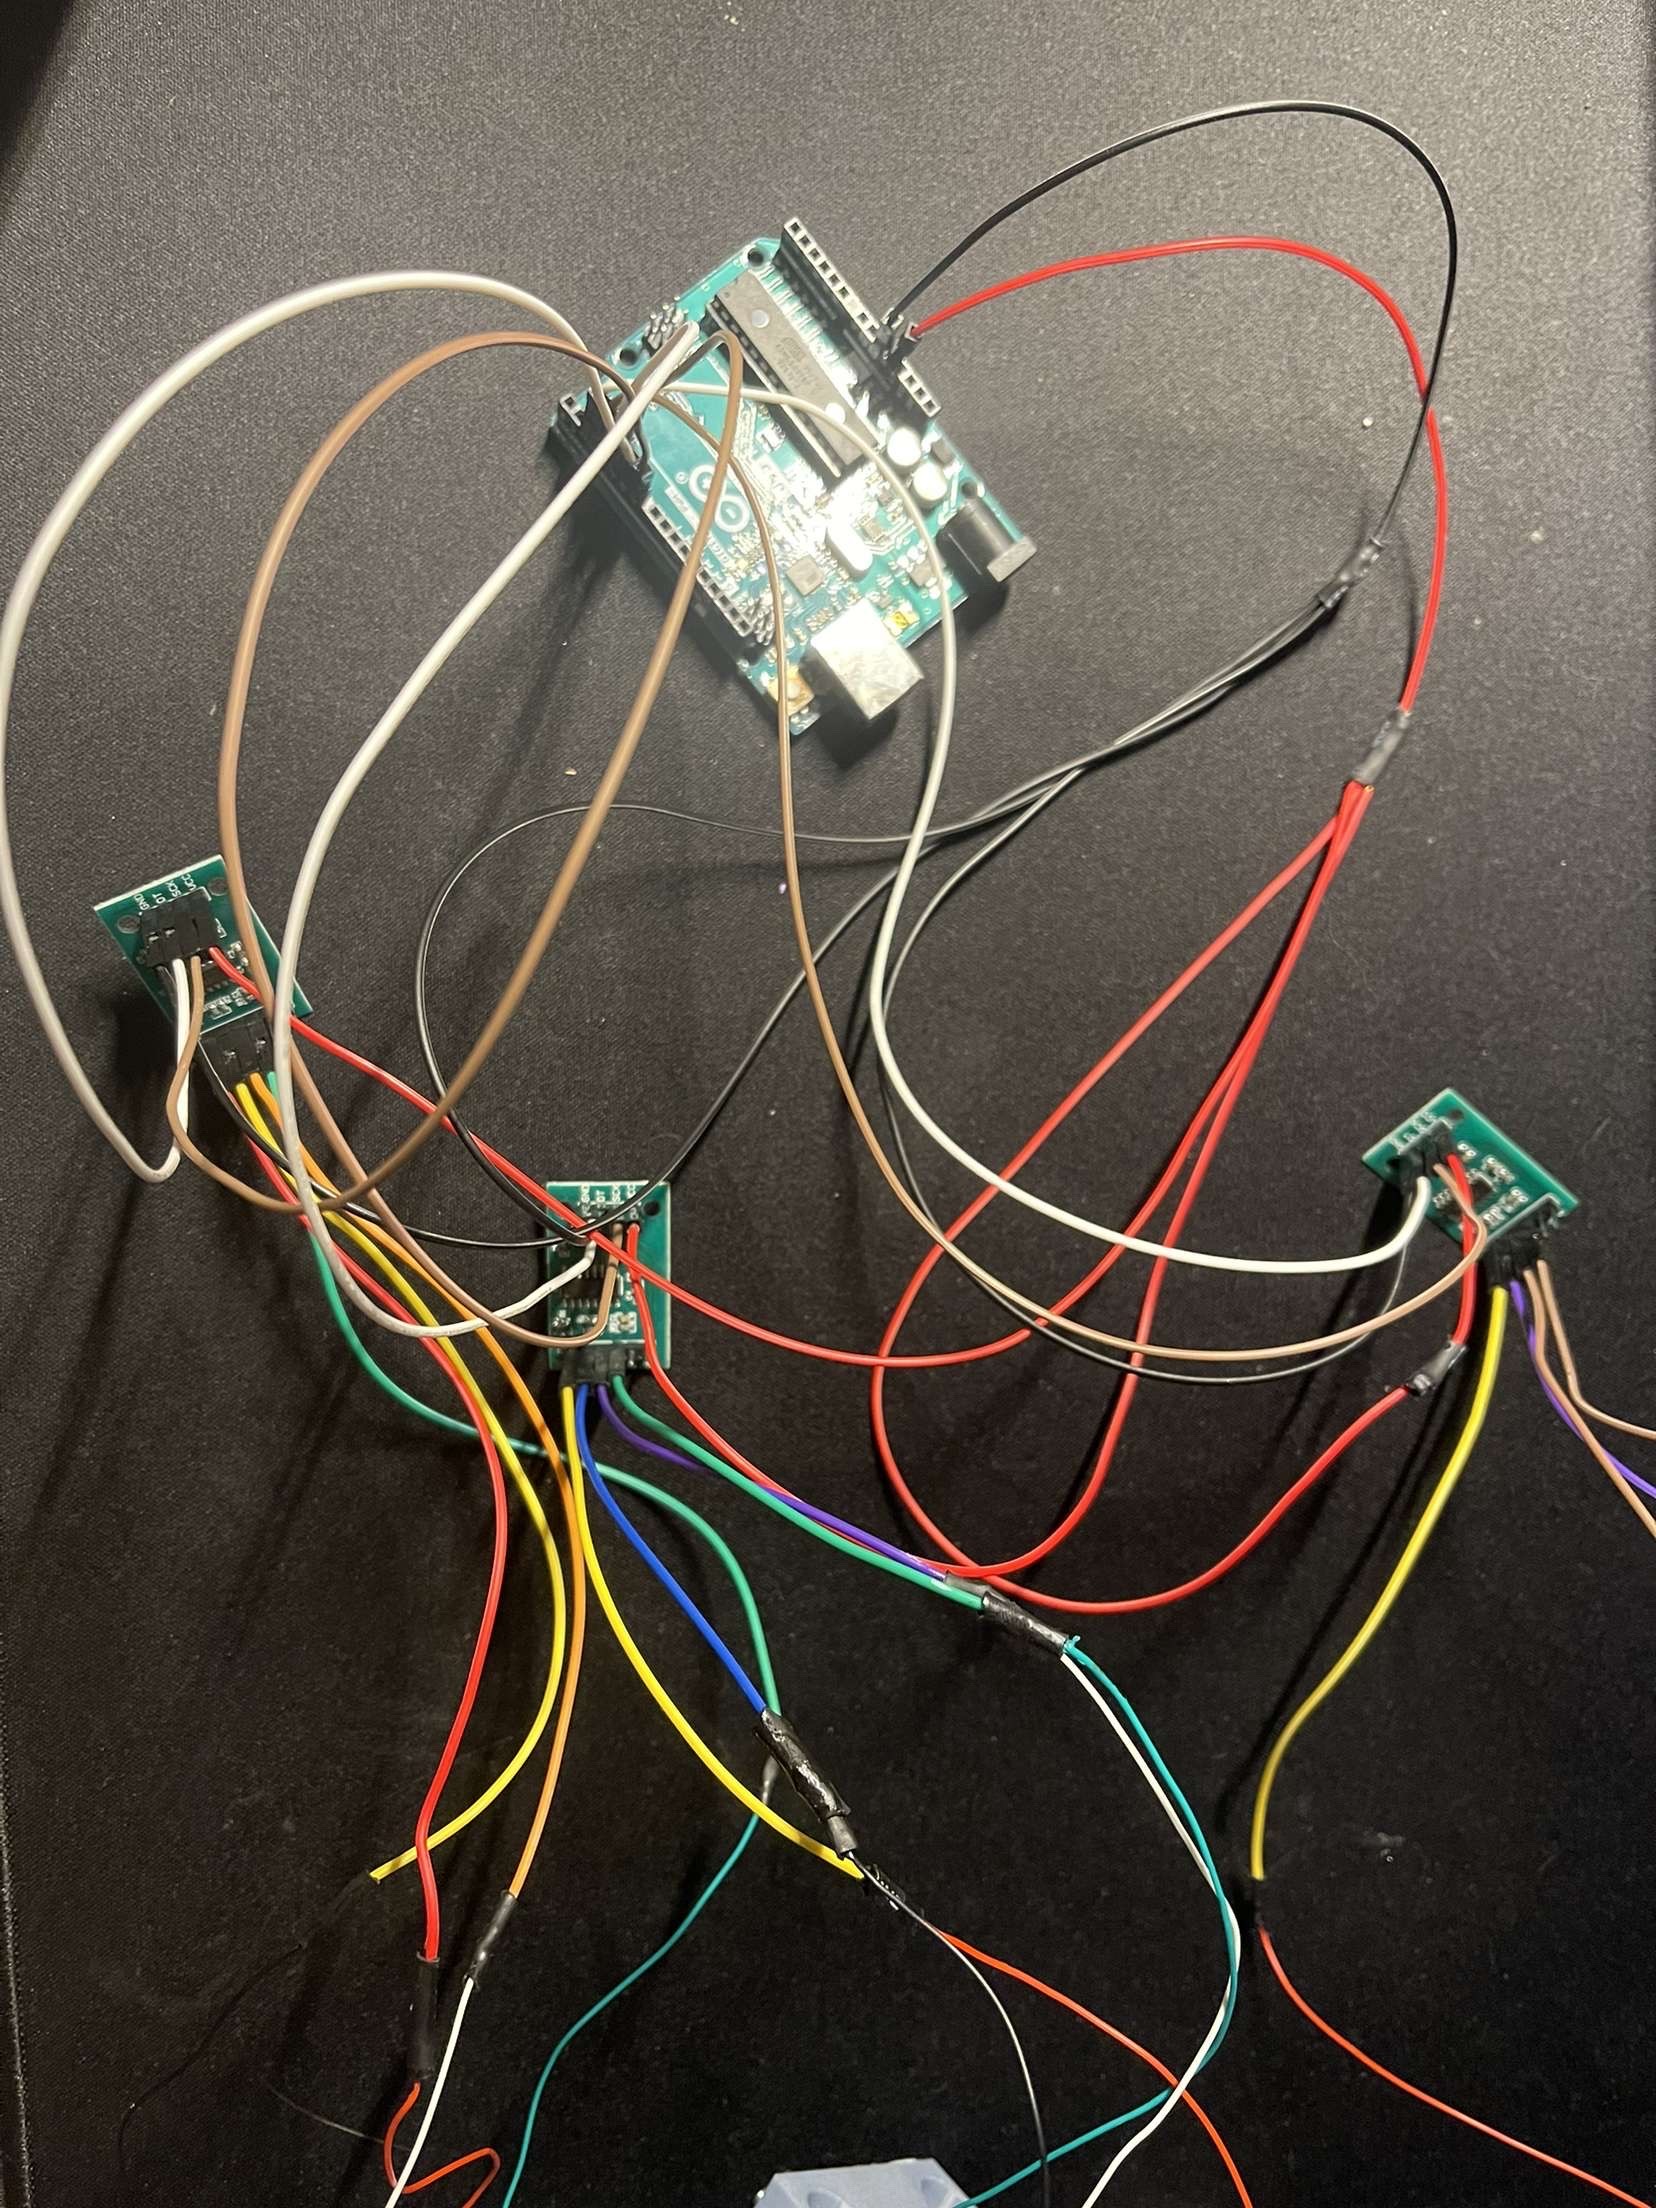
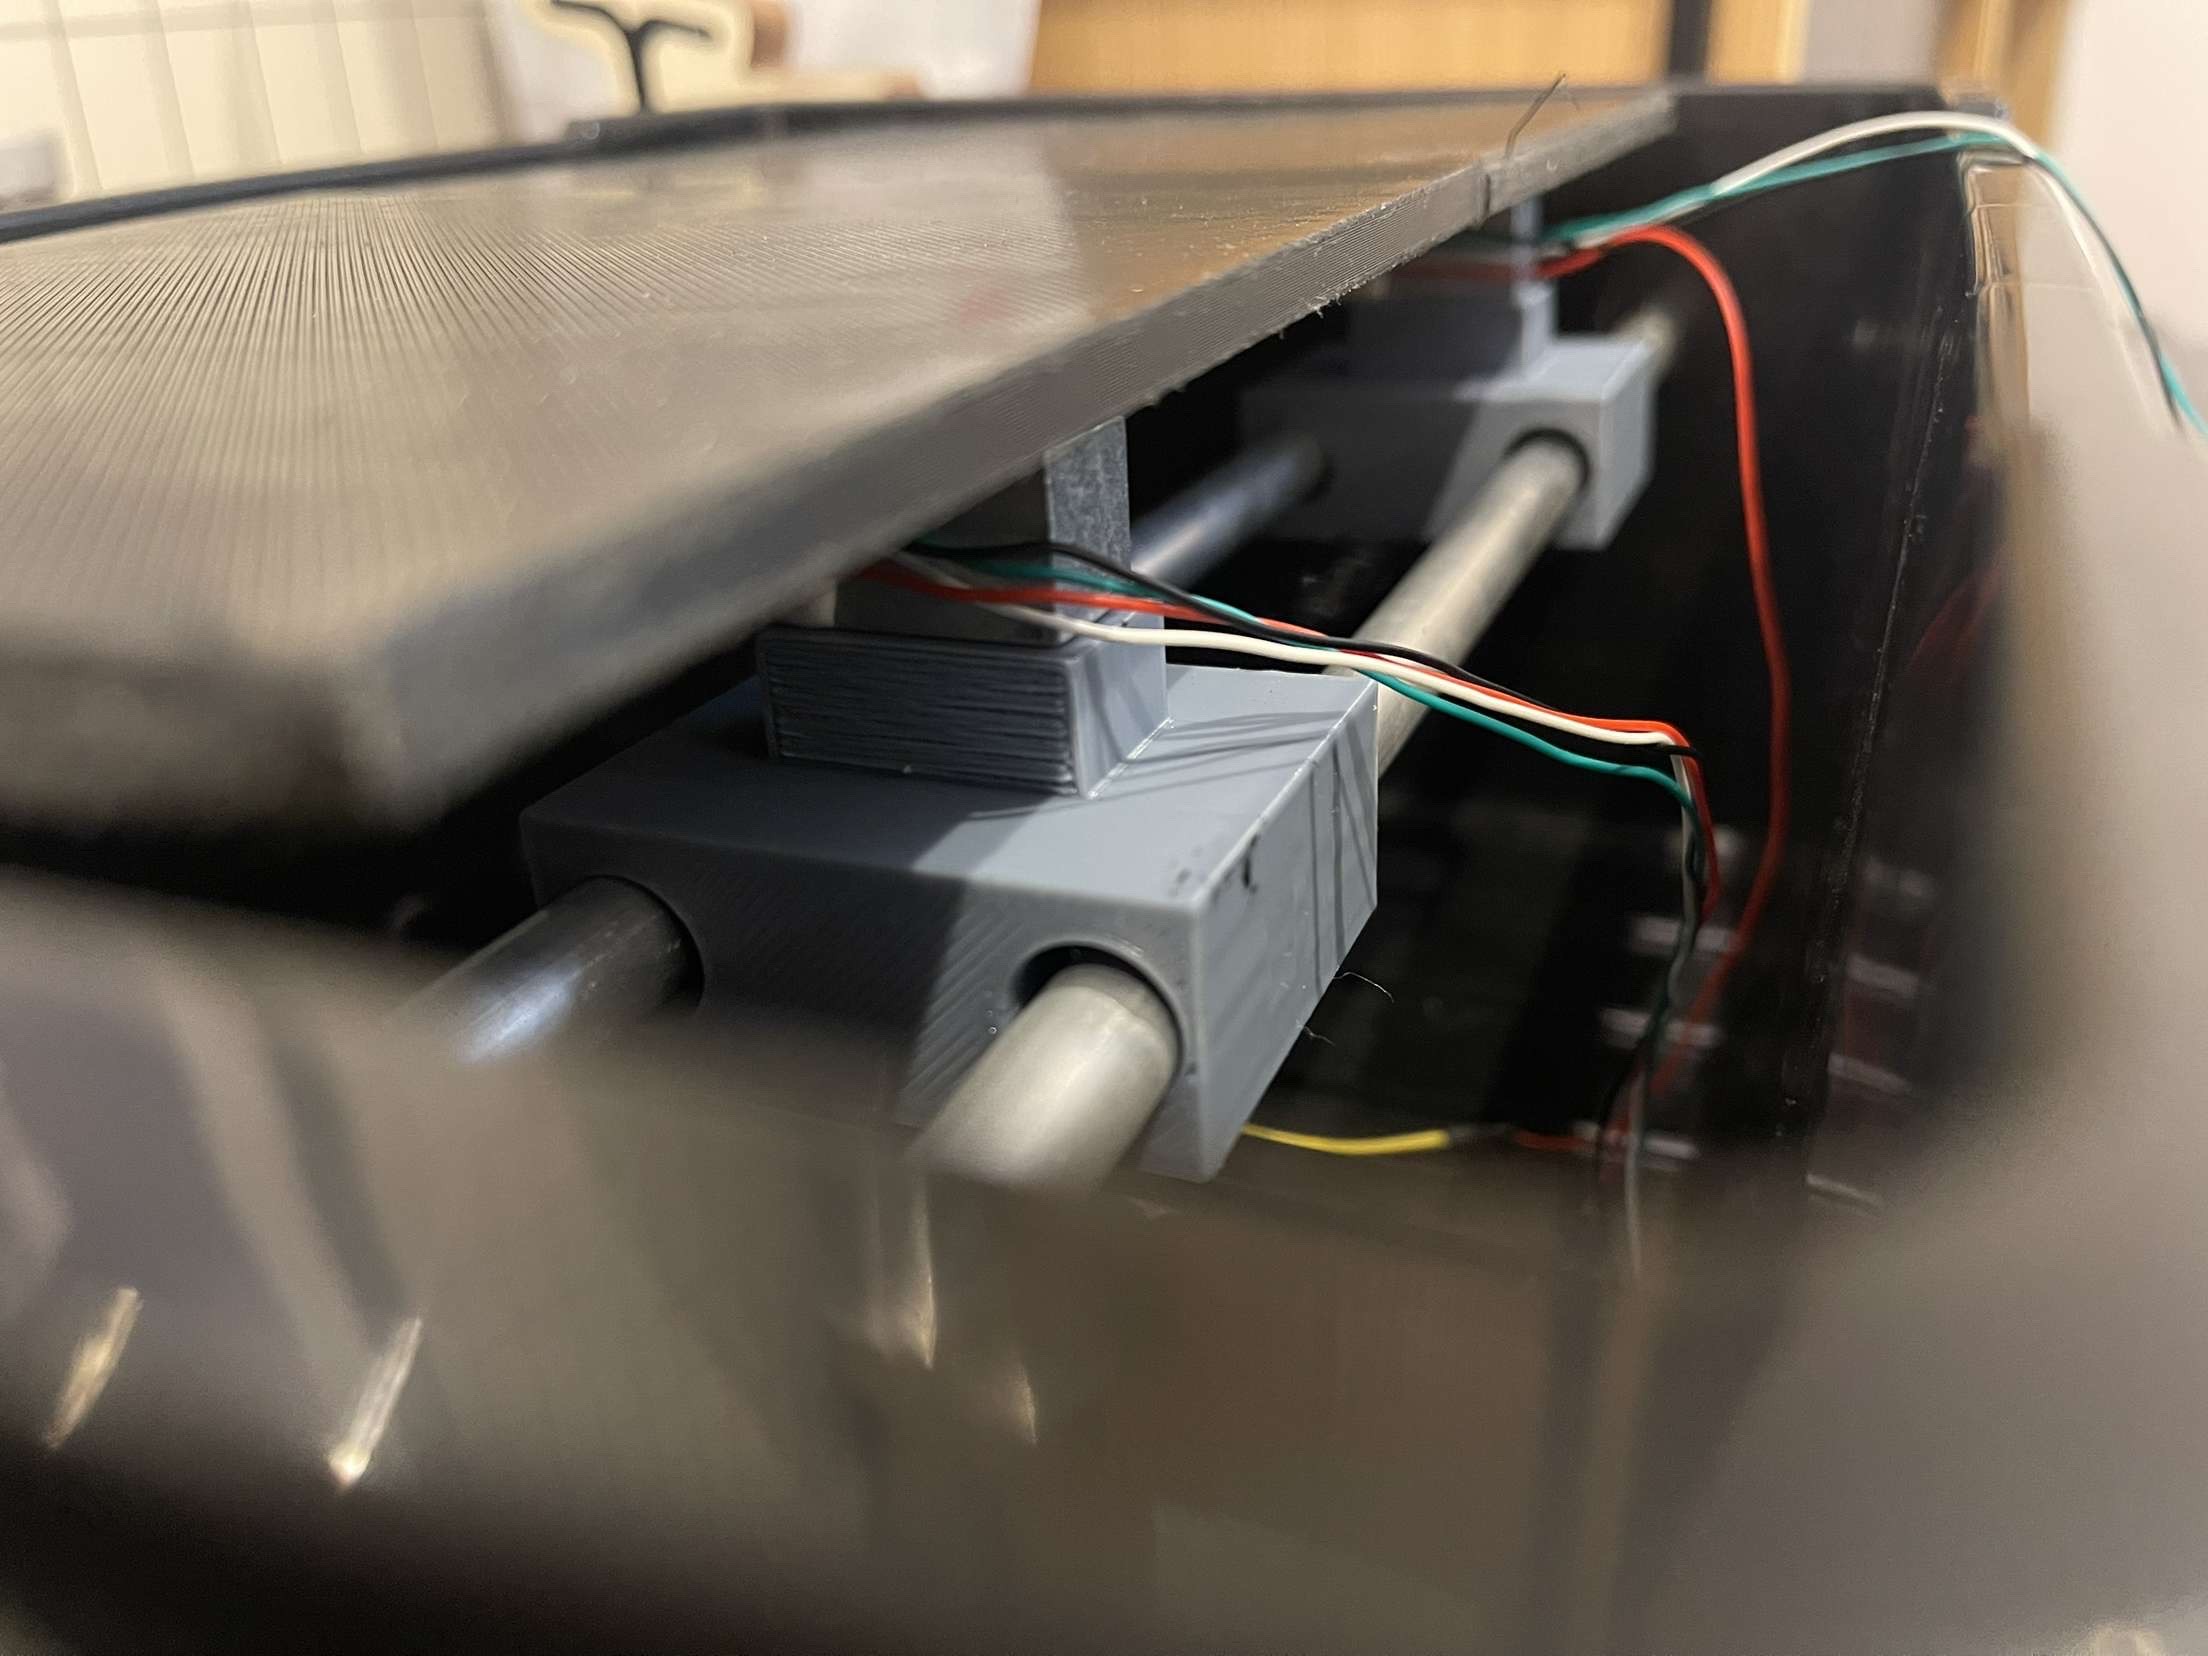
In the test section, where the model is mounted, I place the F1 car prototype. The airflow envelops the model, allowing me to observe how the air interacts with its surfaces. To gather quantitative data, I’ve integrated a rail strain gauge system, measuring key aerodynamic forces such as drag and downforce. This information is vital for understanding how design changes affect performance. A Pitot tube and a digital pressure reader are also found inside, allowing for measurements of static pressure (and therefore speed). The data is then sent to an Arduino and displayed on a computer where it can be further subject to analysis.
In addition to real-world testing, I leverage Computational Fluid Dynamics (CFD) simulations to predict airflow patterns and analyse the aerodynamic properties of the design before physical testing. This dual approach allows for thorough optimization, as I can compare the results from both methods to refine the model iteratively. Overall, the wind tunnel serves as an invaluable educational tool, providing practical insights into aerodynamics that bridge the gap between theoretical knowledge and real-world application.
The wind tunnel is designed to create a controlled environment that simulates airflow, allowing for precise aerodynamic testing of models, such as those used in the F1 in Schools competition. At its core, the tunnel consists of several key components: a fan, a contraction section, a test section, and diffuser.
When the tunnel is operational, the fan generates a powerful stream that pulls air into the system. This airflow enters through the contraction, a narrowing pathway that accelerates the air as it moves toward the test section. The design of the contraction is crucial, as it helps to minimize turbulence and ensure a smooth, steady flow of air over the model.
In the test section, where the model is mounted, I place the F1 car prototype. The airflow envelops the model, allowing me to observe how the air interacts with its surfaces. To gather quantitative data, I’ve integrated a rail strain gauge system, measuring key aerodynamic forces such as drag and downforce. This information is vital for understanding how design changes affect performance. A Pitot tube and a digital pressure reader are also found inside, allowing for measurements of static pressure (and therefore speed). The data is then sent to an Arduino and displayed on a computer where it can be further subject to analysis.
In addition to real-world testing, I leverage Computational Fluid Dynamics (CFD) simulations to predict airflow patterns and analyse the aerodynamic properties of the design before physical testing. This dual approach allows for thorough optimization, as I can compare the results from both methods to refine the model iteratively. Overall, the wind tunnel serves as an invaluable educational tool, providing practical insights into aerodynamics that bridge the gap between theoretical knowledge and real-world application.


Challenges During the Build Process
Challenges During the Build Process
The journey of building the wind tunnel has been both rewarding and fraught with challenges. One of the primary obstacles was ensuring a consistent and uniform airflow within the tunnel. In the initial stages, I faced significant turbulence issues, particularly in the test section, which compromised the accuracy of the data I was collecting. This necessitated a series of design revisions, including modifications to the contraction section to enhance airflow stability.
Another major challenge was balancing cost and functionality. High-quality components like fans, sensors, and measurement devices can be quite expensive, and I needed to find solutions that provided reliability without breaking the budget. This required extensive research into alternative materials and suppliers, as well as creative engineering solutions to maximize the efficiency of less costly components. Moreover, as the goal of the project is to create an open-source wind tunnel, I had to design it in a way that made it easily replicable for other students.


Contact me via